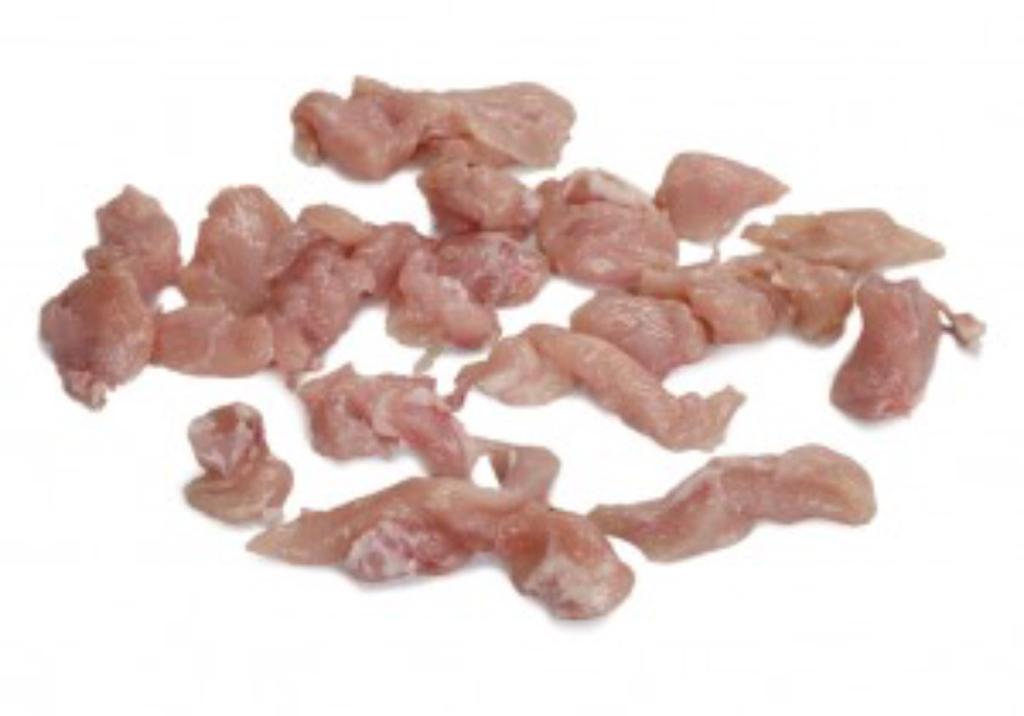
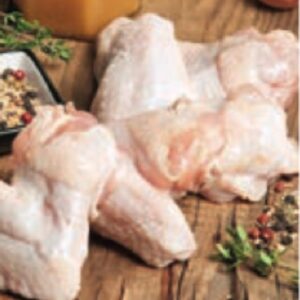
Chicken Breast Trimming involves preparing chicken breasts by removing any excess fat, connective tissue, and sometimes the tenderloin. This process ensures a cleaner, leaner cut of meat that’s ready for cooking. Here’s a detailed guide on how to trim chicken breasts:
Steps for Trimming Chicken Breasts:
- Preparation:
- Clean Work Area: Ensure your cutting board and utensils are clean.
- Use Sharp Knife: A sharp boning knife or chef’s knife makes trimming easier and safer.
- Remove Tenderloin:
- Locate: The tenderloin is a small, thin muscle located on the underside of the chicken breast.
- Cut: Gently pull the tenderloin away from the breast and cut it off. This is optional, but removing it makes the breast more uniform in thickness.
- Trim Excess Fat:
- Identify: Look for any visible fat or sinew on the surface of the breast.
- Cut: Use your knife to trim away these fatty areas. Be careful not to remove too much meat while trimming.
- Remove Connective Tissue:
- Identify: Look for any thin, white connective tissues or membranes on the surface of the breast.
- Cut: Use the knife to scrape or cut away these tough bits. Removing connective tissue can make the chicken more tender and pleasant to eat.
- Even Out the Thickness (Optional):
- Flatten: For even cooking, you might want to pound the chicken breast to an even thickness. This can be done using a meat mallet or rolling pin, covered with plastic wrap or parchment paper to prevent splattering.
- Final Inspection:
- Check: Ensure that the breast is clean, free from fat, and has a uniform thickness if desired.
Uses of Trimmed Chicken Breasts:
- Grilling or Baking:
- Trimmed chicken breasts are great for grilling or baking. They cook more evenly without excess fat.
- Sautéing or Stir-Frying:
- Thinly sliced or cut into chunks, trimmed chicken breasts are ideal for quick cooking methods like sautéing or stir-frying.
- Chicken Breasts for Salads:
- Grilled or poached trimmed chicken breasts can be added to salads for extra protein.
- Chicken Cutlets:
- Flattened, trimmed chicken breasts can be breaded and fried to make chicken cutlets.
- Chicken Skewers:
- Cut into cubes and threaded onto skewers for grilling or baking.
Storage and Handling:
- Refrigeration:
- Trimmed chicken breasts can be stored in the refrigerator for up to 2 days. Store them in an airtight container or wrapped in plastic wrap.
- Freezing:
- If not used within 2 days, trimmed chicken breasts can be frozen for up to 9 months. Place them in a freezer bag or airtight container.
- Thawing:
- Thaw frozen chicken breasts in the refrigerator overnight or use the defrost function on your microwave.
Nutritional Benefits:
- Lean Protein: Chicken breasts are an excellent source of lean protein, low in fat and calories, making them a healthy choice for various diets.
- Versatile: Can be used in numerous recipes and cooking methods, adapting to a wide range of cuisines.
Keywords:
- Chicken Breast Trimming
- Remove Tenderloin
- Trim Excess Fat
- Connective Tissue
- Flatten Chicken Breast
- Chicken Cutlets
- Grilled Chicken Breast
- Sautéed Chicken Breast
- Chicken Skewers
- Lean Protein


Reviews
There are no reviews yet.